SpringBoot整合RabbitMQ实现消息的消息消费
什么是RabbitMQ?
是由erlang语言开发,基于AMQP(Advanced Message Queue 高级消息队列协议)协议实现的消息队列,它是一种应用程序之间的通信方法,消息队列在分布式系统开发中应用非常广泛。支持Windows、Linux/Unix、MAC OS X操作系统和包括JAVA在内的多种编程语言。
组成部分
- Broker:消息服务进程包含Exchange和Queue两个部分
- Exchange:消息队列交换机,按一定的规则将消息路由转发到某个队列,对消息进行过虑。
- Direct Exchange(point-to-point):直接交换器,生产者将消息丢给它后,它从与自己绑定的那些Queue里选择一个,然后直接将消息丢过去,其他的Queue就接不到这个消息了。
- Fanout Exchange(multicast):广播交换机,生产者将消息发送给所有的Queue。
- Topic Exchange(publish-subscribe): 主题交换器,生产者将消息丢给它后,它就给与自己绑定的那些个关心这个消息Queue全部发送一份消息。 也就是发布-订阅模式。
- Queue:消息队列,存储消息的队列,消息到达队列并转发给指定的
- RoutingKey路由key:用来控制交换器如何将消息发送给绑定的队列。
- Exchange:消息队列交换机,按一定的规则将消息路由转发到某个队列,对消息进行过虑。
- Producer:消息生产者,即生产方客户端,生产方客户端将消息发送
- Consumer:消息消费者,即消费方客户端,接收MQ转发的消息。
工作原理

生产者发送消息:
- 生产者和Broker进程建立TCP连接
- 生产者和Broker进程建立通道
-
生产者通过Channel信道将消息发送给Broker,由Exchange将消息进行转发
-
Exchange将消息转发给指定的Queue
消费者消费消息:
- 消费者和Broker进程建立TCP连接
- 消费者和Broker进程建立通道
- 消费者监听指定的Queue
- 当有消息到达Queue时Broker默认将消息推送给消费者
安装
配置RabbitMQ 的系统环境,安装erlang
配置环境变量
ERLANG_HOME  = "安装路径"

path = “%ERLANG_HOME%/bin”输入erl 检查是否安装成功如下图:

安装RabbitMQ

安装好以后,配置环境变量
RABBITMQ_HOME = "安装路径"
path = “%RABBITMQ_HOME%/sbin”
运行 cmd 命令 输入 rabbitmq-server 启动成功,如下图:

访问 http://localhost:15672
 输入用户名和密码,默认都是guest

好了接下来我们开始整合!!!
案例代码
搭建一个SpringBoot项目选择好rabbitmq
pom.xml
<?xml version="1.0" encoding="UTF-8"?>
<project xmlns="http://maven.apache.org/POM/4.0.0"
         xmlns:xsi="http://www.w3.org/2001/XMLSchema-instance"
         xsi:schemaLocation="http://maven.apache.org/POM/4.0.0 http://maven.apache.org/xsd/maven-4.0.0.xsd">
    <modelVersion>4.0.0</modelVersion>
    <parent>
        <groupId>com.SpringBoot</groupId>
        <artifactId>SpringBoot</artifactId>
        <version>0.0.1-SNAPSHOT</version>
    </parent>

    <groupId>com.demo</groupId>
    <artifactId>SpringBoot_RabbitMQ</artifactId>

    <properties>
        <maven.compiler.source>8</maven.compiler.source>
        <maven.compiler.target>8</maven.compiler.target>
        <project.build.sourceEncoding>UTF-8</project.build.sourceEncoding>
    </properties>

    <dependencies>
        <dependency>
            <groupId>org.springframework.boot</groupId>
            <artifactId>spring-boot-starter-web</artifactId>
        </dependency>

        <dependency>
            <groupId>org.springframework.boot</groupId>
            <artifactId>spring-boot-starter-amqp</artifactId>
        </dependency>

        <dependency>
            <groupId>org.springframework.boot</groupId>
            <artifactId>spring-boot-starter-test</artifactId>
            <scope>test</scope>
        </dependency>
        <dependency>
            <groupId>org.projectlombok</groupId>
            <artifactId>lombok</artifactId>
        </dependency>
    </dependencies>

</project>
配置 application.yml
server:
  port: 8080
spring:
  rabbitmq:
    host: 127.0.0.1
    port: 5672
    username: guest
    password: guest
    virtual-host: /
创建MQ配置类
package com.demo.mq.config;

import org.springframework.amqp.core.Binding;
import org.springframework.amqp.core.BindingBuilder;
import org.springframework.amqp.core.DirectExchange;
import org.springframework.amqp.core.Queue;
import org.springframework.context.annotation.Bean;
import org.springframework.context.annotation.Configuration;

/**
 * @Program: SpringBoot
 * @ClassName RabbitMQConfig
 * @Author: liutao
 * @Description: 消息队列配置类
 * @Create: 2023-07-09 19:26
 * @Version 1.0
 **/

@Configuration
public class RabbitMQConfig {
    /**
     * 消息队列名称
     **/
    public static final String QUEEN_NAME = "queue";
    /**
     * 交换机名称
     **/
    public static final String EXCHANGE_NAME = "exchange";
    /**
     * 路由key
     **/
    public static final String ROUTING_KEY = "key";

    /**
     * @MethodName: queue
     * @description: 消息队列
     * @UpdateTime: 2023/7/9 20:20
     * @Return: org.springframework.amqp.core.Queue
     **/
    @Bean
    public Queue queue() {
        return new Queue(QUEEN_NAME);
    }

    /***
     * @MethodName: exchange
     * @description: 交换机
     * @UpdateTime: 2023/7/9 20:19
     * @Return: org.springframework.amqp.core.DirectExchange
     **/

    @Bean
    public DirectExchange exchange() {
        return new DirectExchange(EXCHANGE_NAME);
    }

    /**
     * @MethodName: binding
     * @description: 将消息队列 绑定到交换机
     * @UpdateTime: 2023/7/9 20:18
     * @Return: org.springframework.amqp.core.Binding
     **/
    @Bean
    public Binding binding() {
        return BindingBuilder
                .bind(queue())
                .to(exchange())
                .with(ROUTING_KEY);
    }
}
创建生产者类
package com.demo.mq;

import com.demo.mq.config.RabbitMQConfig;
import org.springframework.amqp.rabbit.core.RabbitTemplate;
import org.springframework.beans.factory.annotation.Autowired;
import org.springframework.stereotype.Component;

/**
 * @Program: SpringBoot
 * @ClassName Producer
 * @Author: liutao
 * @Description: 消息生产者
 * @Create: 2023-07-09 19:51
 * @Version 1.0
 **/

@Component
public class Producer {
    @Autowired
    private RabbitTemplate rabbitTemplate;
    public void sendMessage(String message) {
        try {
            rabbitTemplate.convertAndSend(RabbitMQConfig.EXCHANGE_NAME, RabbitMQConfig.ROUTING_KEY, message);
        }catch (Exception e) {
            throw new RuntimeException("消息发布异常");
        }
    }
}
创建消费者类
package com.demo.mq;

import lombok.extern.slf4j.Slf4j;
import org.springframework.amqp.rabbit.annotation.RabbitListener;
import org.springframework.stereotype.Component;

/**
 * @Program: SpringBoot
 * @ClassName Consumer
 * @Author: liutao
 * @Description: 消息消费者
 * @Create: 2023-07-09 19:41
 * @Version 1.0
 **/
@Slf4j
@Component
public class Consumer {
    @RabbitListener(queues = "queue")
    public void receiveMessage(String message) {
        // 处理接收到的消息
        log.info("Received message:" + message);
    }
}
web接口
package com.demo.mq.controller;

import com.demo.mq.Producer;
import org.springframework.beans.factory.annotation.Autowired;
import org.springframework.web.bind.annotation.GetMapping;
import org.springframework.web.bind.annotation.RestController;

/**
 * @Program: SpringBoot
 * @ClassName MqController
 * @Author: liutao
 * @Description: mq调用接口
 * @Create: 2023-07-09 19:58
 * @Version 1.0
 **/

@RestController
public class MqController {
    @Autowired
    private Producer producer;
    @GetMapping("/send")
    public String send(String message){
        producer.sendMessage(message);
        return "ok";
    }
}
测试效果
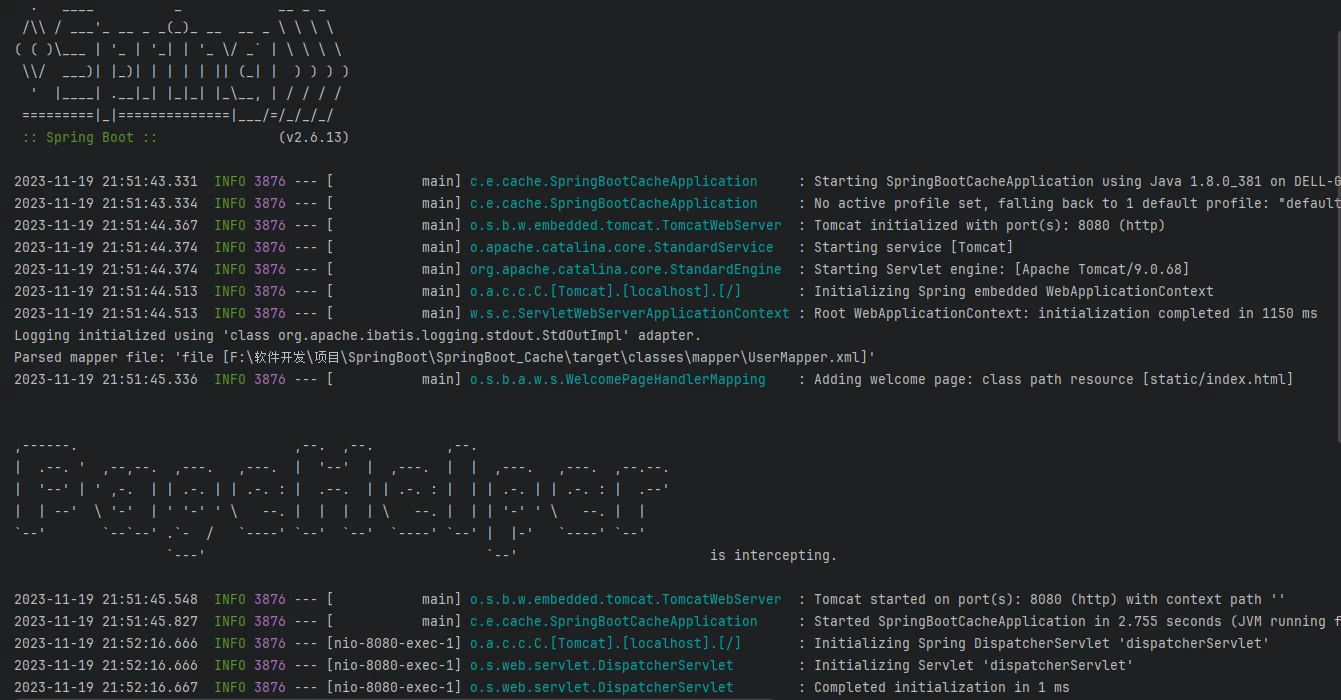
启动服务 ,连接MQ成功

访问 http://localhost:8080/send?messgae="内容"


后台

一样我们也可以在mq管理面板去测试 找到 Queues 点击queue 进去


后台

结尾
到这里我们今天的SpringBoot就学习完了!!see you!!
如果我的内容对你有用,欢迎点赞,关注 !!涛哥博客
阅读剩余
版权声明:
作者:涛哥
链接:https://ltbk.net/back/spring_family/spring-boot/article/1592.html
文章版权归作者所有,未经允许请勿转载。
作者:涛哥
链接:https://ltbk.net/back/spring_family/spring-boot/article/1592.html
文章版权归作者所有,未经允许请勿转载。
THE END

